Posted on Wednesday, October 16, 2024
When it comes to roofing, one of the most critical components in ensuring your roof’s longevity and protecting the structure from water damage is the drip edge. While it may seem like a minor detail, the angle of the drip edge plays a vital role in directing water away from your home’s fascia and foundation, ensuring the integrity of your roofing system. In this blog, we’ll explore the importance of drip edge installation, the ideal angle for optimal water runoff, and how you can prevent water damage by making the right choice.
A drip edge is a metal flashing installed along the edges of a roof, typically made from galvanized steel, aluminum, or copper. Its primary function is to direct water away from the fascia board and into the gutters or beyond the roofline. Without a properly installed drip edge, water can flow back under the roof shingles or drip down the fascia, leading to wood rot, leaks, and other structural damage over time.
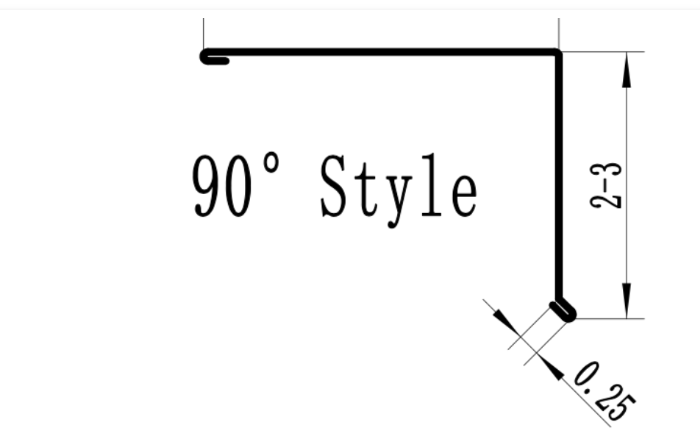
The angle of the drip edge is a crucial detail that often gets overlooked during roof installation. The primary function of the drip edge is to create a pathway for water to flow away from the fascia and roof decking, and the angle of the metal flashing determines how effectively this occurs. If the angle is incorrect, water can either pool along the edge of the roof or seep underneath, leading to expensive repairs.
When properly angled, the drip edge acts as a barrier, preventing rainwater, snowmelt, and ice from seeping into the roof’s underlayment. It also protects the fascia board, the wooden element just below the roof’s edge, from absorbing moisture, which can lead to mold, rot, and decay over time.
In most cases, the ideal angle for a drip edge is 90 degrees. This right angle forms a perfect fit between the fascia board and the roof’s edge, ensuring that water smoothly transitions from the roof into the gutters. This angle provides a snug fit, preventing water from leaking behind the drip edge.
However, in certain situations, particularly when roofs have a steep slope, the drip edge angle may need to be slightly adjusted to around 100 to 110 degrees to better align with the roof pitch. This slight variation ensures that the drip edge continues to direct water away from the structure without trapping it near the roof or fascia.
In addition, it is essential that the lower flange of the drip edge extends slightly away from the fascia. This ensures water "drips" off the edge and into the gutter system or off the roof entirely, rather than clinging to the fascia, which could lead to long-term damage.
While getting the right angle is crucial, here are a few additional considerations to keep in mind when installing a drip edge:
While installing a drip edge is straightforward, a few common mistakes can impact its performance:
Installing a drip edge at the correct angle can provide a range of benefits:
The drip edge may be a small component of your roofing system, but it plays a significant role in protecting your home from water damage. Choosing the right angle for your drip edge, typically 90 degrees, ensures that water flows properly into the gutters or off the roofline, protecting your home’s structural integrity for years to come.
Whether you’re building a new home or replacing an old roof, don’t overlook the importance of your drip edge. Investing in quality materials and proper installation can save you from future headaches and expenses. For those unsure about how to install or angle a drip edge, working with a professional roofer ensures you get the protection your home deserves.
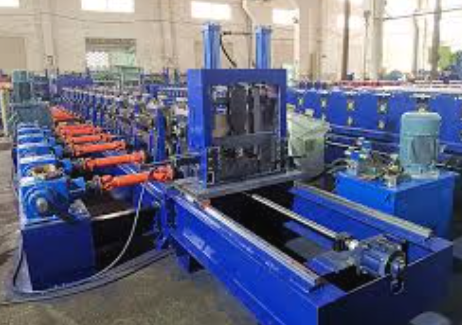
Used Purlin Roll Forming Machines for Sale Worldwide
Posted on Sunday, January 25, 2026
Pre-Owned Roll Forming Machines for Purlin & Structural Steel Profiles
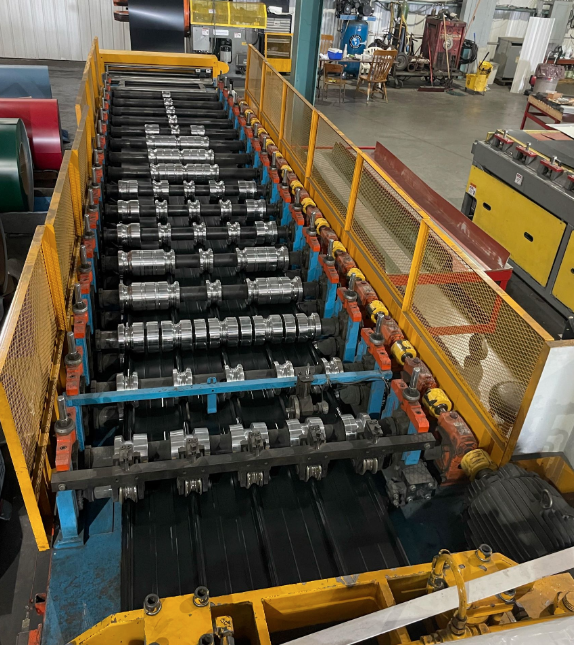
Used Roof Panel Roll Forming Machines for Sale Worldwide
Posted on Sunday, January 25, 2026
Pre-Owned Roll Forming Machines for Roofing Panel Production
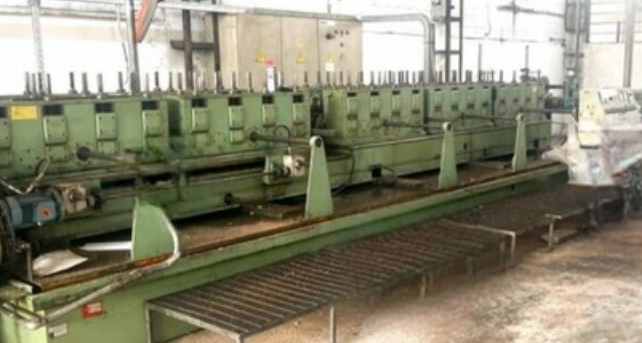
Used Roll Forming Machines for Sale Worldwide
Posted on Tuesday, January 20, 2026
Pre-Owned Roll Forming Machines with Inspection, Verification & Global Support
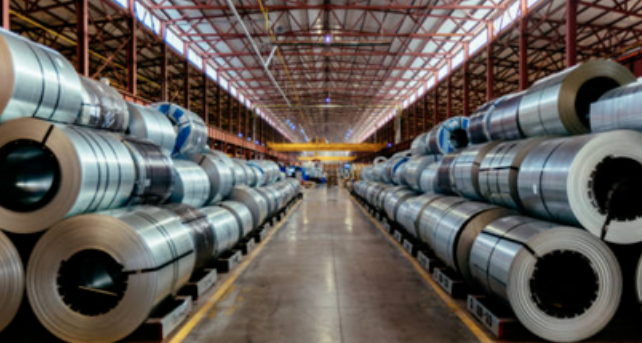
Steel Coil Supply for Roll Forming Machines Worldwide
Posted on Tuesday, January 20, 2026
Reliable Steel Coil Supply for Roll Forming, Fabrication & Manufacturing Applications
Copyright 2026 © Machine Matcher.