Posted on Tuesday, September 23, 2025
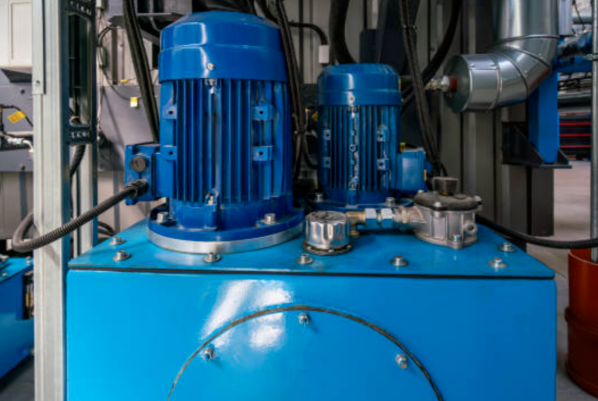
Hydraulic systems are the heart of many roll forming machines, powering cutting units, coil feeding, and press functions. Regular maintenance, including changing the hydraulic oil, is crucial for consistent performance, long component life, and avoiding costly breakdowns.
Prevents Contamination: Over time, hydraulic oil accumulates metal particles, dust, and moisture. Contaminated oil can damage pumps, valves, and cylinders.
Maintains Viscosity: Old oil can lose viscosity, leading to inconsistent pressure, slower operation, and potential machine damage.
Protects Seals and Components: Fresh oil prevents premature seal wear and corrosion in hydraulic components.
Ensures Machine Reliability: Regular oil changes reduce downtime and maintain consistent forming and cutting performance.
Tip: Most machine manufacturers recommend changing hydraulic oil every 2,000–4,000 operating hours, or at least once per year. Check the specific machine manual for exact intervals.
Correct hydraulic oil (check machine specifications: ISO VG grade, synthetic vs mineral)
Oil drain pan or container
Funnel and clean rags
Wrenches or socket set for drain plugs and filters
New hydraulic filters (if required)
Personal protective equipment (gloves, goggles)
Turn off the machine and disconnect power.
Relieve hydraulic pressure: Operate the controls to release stored pressure, or follow the manufacturer’s specific procedure.
Work in a clean area to avoid introducing contaminants.
Use proper lifting equipment if removing large reservoirs.
Run the machine for 5–10 minutes to slightly warm the hydraulic oil. Warm oil flows more easily and drains completely.
Tip: Avoid overheating; the oil should be warm, not hot.
Place the oil drain pan beneath the reservoir.
Remove the drain plug and allow the old oil to completely drain.
Remove the return line filter if accessible, and let it drain.
Dispose of old oil according to local environmental regulations.
Remove old filters (spin-on or cartridge type) and install new ones.
Lubricate the filter seal with fresh oil before installation.
Use a clean funnel to pour new hydraulic oil into the reservoir.
Fill to the recommended level indicated by the sight glass or dipstick.
Do not overfill; this can cause foaming and pressure issues.
Power the machine on without engaging heavy loads.
Cycle all hydraulic functions slowly to allow trapped air to escape.
Check the oil level again and top up if necessary.
Check hoses, fittings, and cylinder seals for leaks.
Tighten or replace any components as needed.
Note the date, hours of operation, and oil type used in the maintenance log.
Regular logs help track oil life and predict future maintenance schedules.
Using the wrong oil type: Always follow manufacturer recommendations for viscosity and specifications.
Skipping filter changes: Dirty filters will contaminate new oil.
Not removing air: Trapped air can cause erratic movements and cavitation.
Overfilling: Can cause foaming, increased pressure, and damage to seals.
Neglecting disposal rules: Used hydraulic oil is hazardous and must be disposed of properly.
Check hydraulic oil level daily or weekly, depending on usage.
Inspect filters every 500–1,000 hours and replace as necessary.
Keep the reservoir and surrounding area clean to prevent contamination.
Periodically test oil for contamination or viscosity breakdown if the machine runs in harsh environments.
Changing hydraulic oil on roll forming machines is a simple but critical task that extends the life of your system, maintains consistent operation, and protects expensive components. By following this guide, operators can perform the task safely, efficiently, and with confidence.
Pro Tip: Pair hydraulic oil changes with other routine maintenance, such as lubrication of rollers and inspection of hoses, for a comprehensive maintenance program.
Turn off the machine and disconnect power
Relieve all hydraulic pressure (follow machine manual)
Wear gloves, goggles, and protective clothing
Prepare drain pan, clean rags, and correct hydraulic oil
Run the machine 5–10 minutes to warm oil (do not overheat)
Place drain pan under reservoir
Remove drain plug and let oil fully drain
Remove return line filter (if accessible) and drain
Dispose of used oil according to regulations
Remove old filters
Lubricate new filter seals with fresh oil
Install new filters securely
Pour new hydraulic oil into reservoir using a clean funnel
Fill to manufacturer-recommended level
Avoid overfilling
Power on machine without heavy load
Cycle all hydraulic functions slowly
Check oil level again and top up if needed
Check hoses, fittings, and cylinder seals
Tighten or replace leaking components
Note date, operating hours, and oil type in maintenance log
Schedule next oil change and filter replacement
Always use the oil grade recommended by the machine manufacturer
Pair oil changes with routine roller lubrication and hose inspections
Regular maintenance prevents downtime and protects expensive components
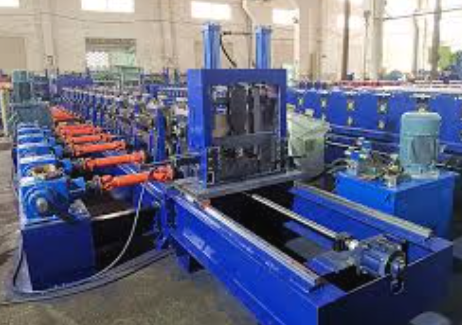
Used Purlin Roll Forming Machines for Sale Worldwide
Posted on Sunday, January 25, 2026
Pre-Owned Roll Forming Machines for Purlin & Structural Steel Profiles
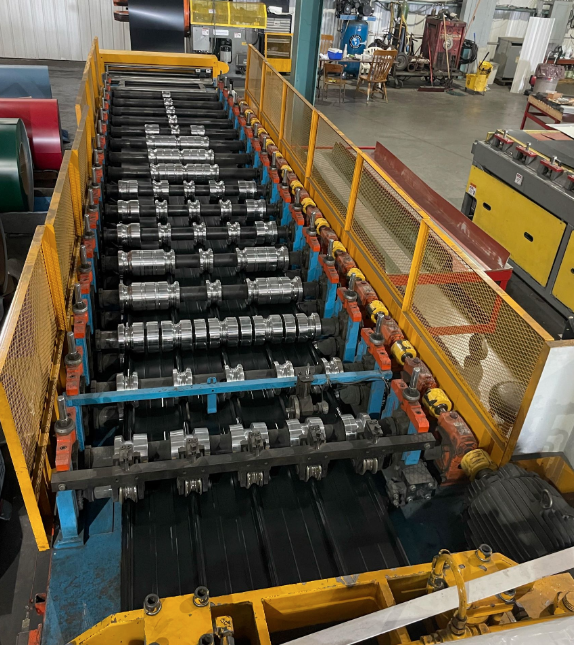
Used Roof Panel Roll Forming Machines for Sale Worldwide
Posted on Sunday, January 25, 2026
Pre-Owned Roll Forming Machines for Roofing Panel Production
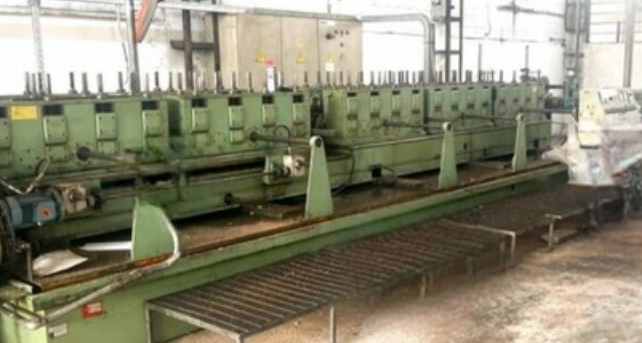
Used Roll Forming Machines for Sale Worldwide
Posted on Tuesday, January 20, 2026
Pre-Owned Roll Forming Machines with Inspection, Verification & Global Support
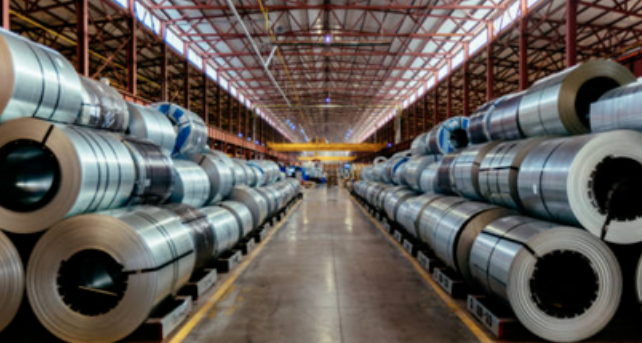
Steel Coil Supply for Roll Forming Machines Worldwide
Posted on Tuesday, January 20, 2026
Reliable Steel Coil Supply for Roll Forming, Fabrication & Manufacturing Applications
Copyright 2026 © Machine Matcher.