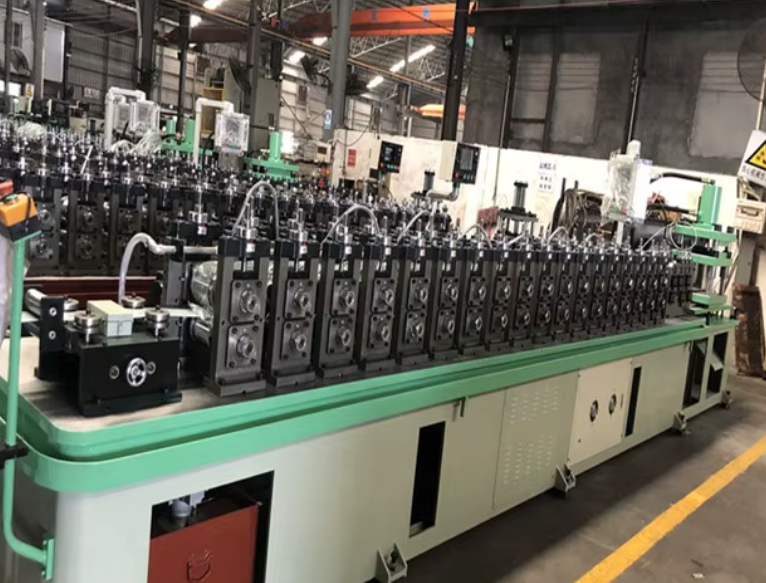
Posted on Wednesday, September 24, 2025
Bearings are one of the most important components in a roll forming machine. They keep the shafts and rollers aligned, reduce friction, and ensure smooth sheet metal forming. Over time, bearings can wear out due to heavy loads, contamination, or poor lubrication. Knowing how to change them correctly is essential to keep your roll former running efficiently.
In this guide, we’ll walk you through the full process of replacing a bearing on a roll forming machine — from preparation to testing — and explain the common causes of bearing failure so you can avoid repeat issues. We’ll also cover the spare parts you should keep in stock and include a troubleshooting chart for quick diagnosis.
A roll forming machine relies on precise roller alignment. If a bearing fails, the shaft can wobble, causing:
Uneven profiles
Excess roller wear
Increased noise and vibration
Risk of machine breakdown
Replacing a faulty bearing quickly avoids costly downtime and maintains product quality.
Before starting, gather the right tools:
Wrenches, sockets, and Allen keys
Bearing puller or hydraulic press
Soft mallet and fitting tool
Torque wrench
Grease or anti-seize lubricant
Lockout/tagout kit for safety
Switch off and lock out all power sources, including electrical, hydraulic, and pneumatic systems.
Remove any coil material from the line.
Ensure you have the correct replacement bearing — check part numbers and dimensions.
Remove safety guards and covers.
Identify the worn bearing and note how it is fixed in place (housing, locking collar, or set screws).
In some cases, you may need to remove roller tooling or carefully lift the shaft for clearance.
Loosen and remove set screws, locking collars, or plates.
Use a bearing puller to slide the bearing off the shaft. If it’s seized, use a hydraulic press or induction heater — never hammer directly.
Inspect the shaft for scoring, burrs, or wear, and clean it before installing the new bearing.
Lightly oil the shaft to make fitting easier.
Align the new bearing squarely on the shaft and press it into place.
Secure with set screws or locking collars, tightening to the manufacturer’s torque specification.
If grease-fed, apply the recommended lubricant.
Refit covers, guards, and any tooling removed.
Check shaft alignment to ensure the rollers are perfectly positioned.
Tighten all fasteners securely.
Run the machine at low speed without material and listen for abnormal noise or vibration.
Test with a short length of coil and monitor the profile quality.
Check bearing temperature during the first few hours of operation.
Understanding why bearings fail will help you extend their life and reduce maintenance downtime. Here are the most common issues:
Bearings need consistent lubrication to reduce friction.
Too little grease causes overheating and wear; too much can create excess pressure.
Using the wrong lubricant can also shorten bearing life.
Tip: Follow the machine manufacturer’s lubrication schedule and always use the specified grease or oil.
Dust, dirt, and metal particles from coil material can get into the bearings.
Contaminants act like sandpaper, grinding away at rolling surfaces.
Tip: Keep covers, seals, and guards in good condition, and maintain a clean shop floor.
If rollers or shafts are not perfectly aligned, the bearing carries uneven loads.
This leads to premature wear, noise, and even shaft bending.
Tip: Always check alignment when replacing bearings and after any major adjustment.
Running thicker or harder material than the machine is designed for increases stress on bearings.
Overloading accelerates fatigue and can cause catastrophic failure.
Tip: Stay within the machine’s rated material thickness and hardness.
Hammering a bearing into place or failing to torque fasteners correctly can damage races and rollers.
Bearings installed at an angle may never seat properly.
Tip: Use the correct tools and follow proper installation techniques.
Unexpected downtime can cost thousands in lost production. Keeping critical spare parts in stock ensures you can carry out quick repairs. Here are the essentials:
Bearings – the most common wear item; keep multiple sizes on hand.
Roller tooling spacers and shims – small but critical for alignment.
Belts and chains – drive components often wear or snap under load.
Hydraulic hoses and seals – essential for machines with cutting or punching units.
Electrical sensors and limit switches – prevent stoppages from small electrical faults.
Fuses and relays – low-cost parts that can shut down an entire line if they fail.
Lubricants and grease cartridges – always have machine-specific lubricants available.
💡 Pro tip: Create a spare parts inventory based on your machine’s manual and usage history. Review and restock regularly.
Here’s a quick reference chart to help diagnose bearing problems in roll forming machines:
| Symptom | Possible Issue | Fix |
|---|---|---|
| Excessive noise (grinding) | Worn or dry bearing, contamination | Replace bearing, clean housing, apply correct lubrication |
| Overheating | Lack of lubrication, over-tightened fit | Re-lubricate, check grease type, refit bearing with correct clearance |
| Vibration or roller chatter | Misaligned shaft or bearing wear | Realign rollers/shafts, replace worn bearing |
| Uneven profiles produced | Shaft play due to failed bearing | Inspect bearings, replace and re-check alignment |
| Frequent bearing failures | Poor lubrication schedule, contamination | Improve maintenance, use seals, clean working environment |
| Bearing loosens repeatedly | Incorrect installation or shaft wear | Refit with correct torque, repair/replace shaft if damaged |
Replace both bearings on a shaft at the same time, even if only one has failed.
Keep a stock of common bearing sizes to reduce downtime.
Regularly check lubrication levels and condition.
Monitor vibration and noise — early signs of a bearing problem.
Changing a bearing on a roll forming machine isn’t complicated, but it does require care, precision, and the right tools. By following a systematic process, keeping critical spares on hand, and using the troubleshooting chart for fast diagnosis, you can extend the life of your machine, reduce downtime, and maintain consistent product quality.
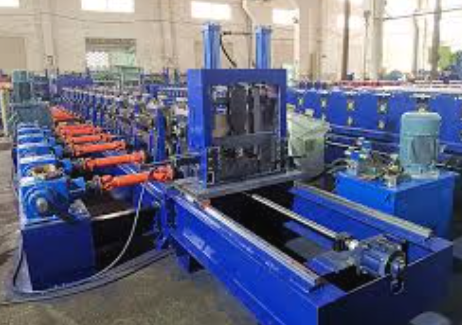
Used Purlin Roll Forming Machines for Sale Worldwide
Posted on Sunday, January 25, 2026
Pre-Owned Roll Forming Machines for Purlin & Structural Steel Profiles
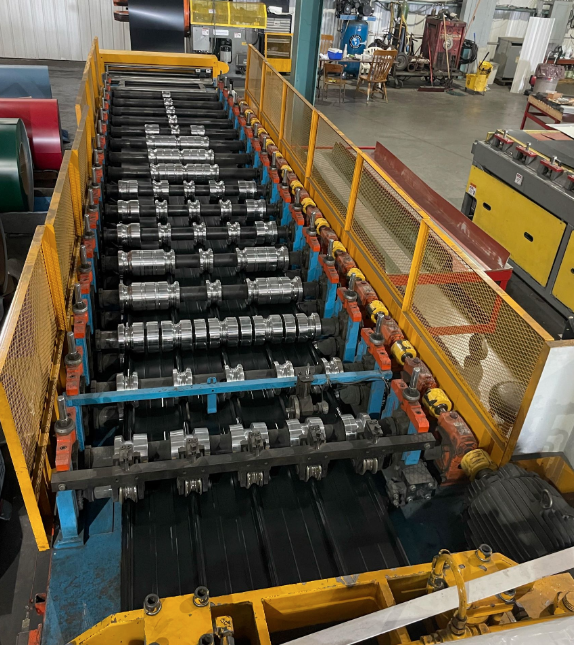
Used Roof Panel Roll Forming Machines for Sale Worldwide
Posted on Sunday, January 25, 2026
Pre-Owned Roll Forming Machines for Roofing Panel Production
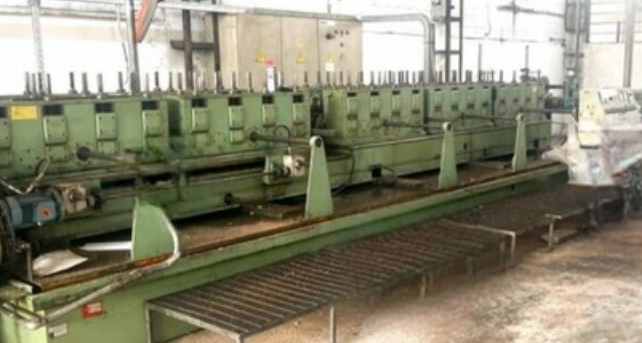
Used Roll Forming Machines for Sale Worldwide
Posted on Tuesday, January 20, 2026
Pre-Owned Roll Forming Machines with Inspection, Verification & Global Support
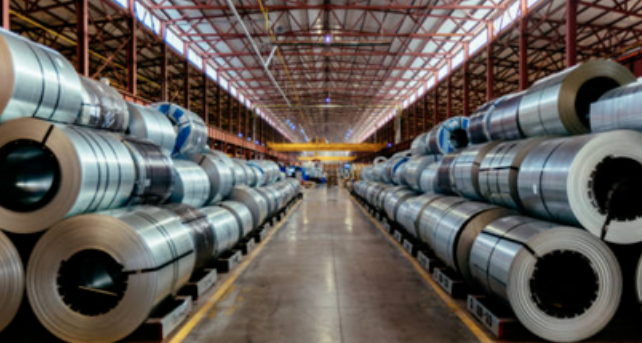
Steel Coil Supply for Roll Forming Machines Worldwide
Posted on Tuesday, January 20, 2026
Reliable Steel Coil Supply for Roll Forming, Fabrication & Manufacturing Applications
Copyright 2026 © Machine Matcher.