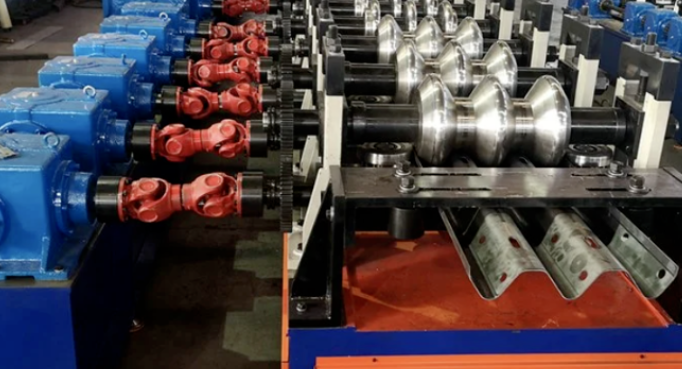
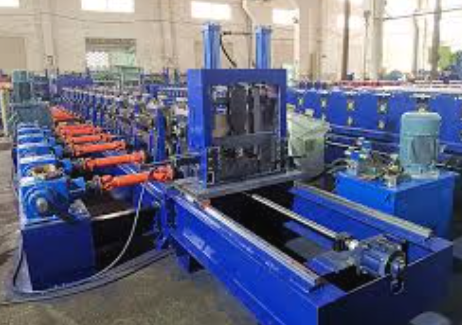
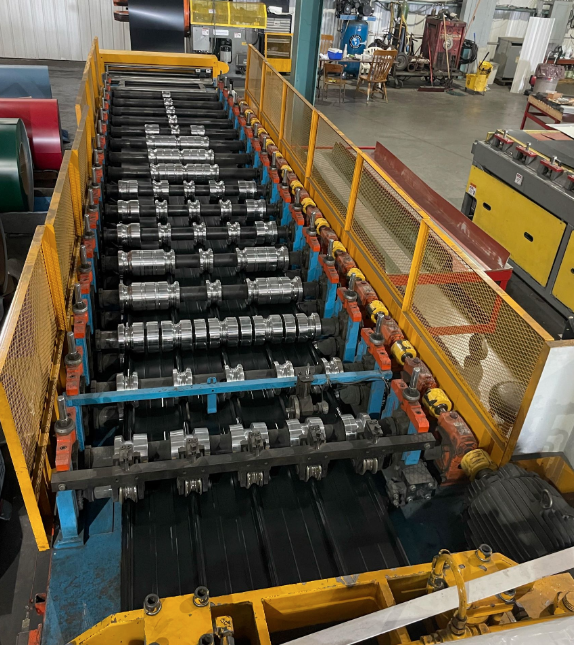
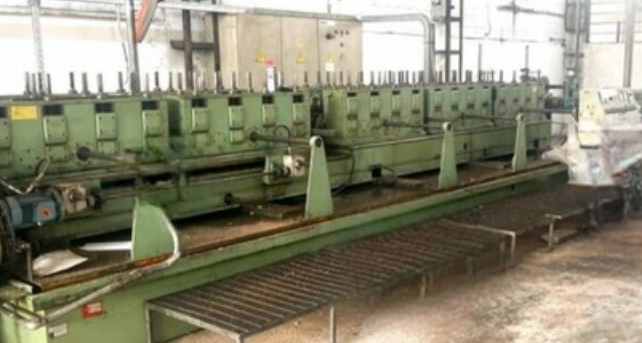
Adjusting the rollers on a roll forming machine is a crucial task for ensuring optimal performance and product quality. Here’s a step-by-step guide to help operators make precise adjustments:
Steps to Adjust Rollers on a Roll Forming Machine
- Safety First:
- Ensure the machine is powered off and locked out before making any adjustments to prevent accidental start-up.
- Wear appropriate personal protective equipment (PPE), such as gloves and safety goggles.
- Consult the Manual:
- Refer to the machine’s operation and maintenance manual for specific instructions related to your model. Each machine may have unique requirements.
- Identify the Roller Configuration:
- Determine the type of rollers you are working with (e.g., forming, guide, or drive rollers) and their arrangement in the machine.
- Loosen Locking Mechanisms:
- Use the appropriate tools (like a wrench or socket set) to loosen any locking nuts or bolts that secure the rollers in place. Be cautious not to completely remove them at this stage.
- Make Vertical Adjustments:
- To adjust the height of the rollers, raise or lower them using the adjustment screws or bolts. This is typically done by turning the screws clockwise to raise the rollers and counterclockwise to lower them.
- Ensure the rollers are evenly adjusted on both sides for consistent product thickness.
- Make Lateral Adjustments:
- If lateral adjustments are needed, move the rollers closer together or further apart using the side adjustment mechanisms.
- This is important for aligning the material properly within the rollers.
- Check Roller Alignment:
- Verify that the rollers are properly aligned with each other. Misalignment can lead to product defects.
- Use a straight edge or alignment tool to ensure the rollers are parallel.
- Tighten Locking Mechanisms:
- Once adjustments are made, tighten the locking nuts or bolts securely to hold the rollers in their new positions.
- Test the Machine:
- Power on the machine and run a short test of the roll forming process with scrap material to check for proper operation and product quality.
- Observe the product for any signs of deformation or misalignment.
- Fine-Tuning:
- If necessary, make additional adjustments based on the results of the test run. Repeat the process until optimal performance is achieved.
- Regular Maintenance:
- Document the adjustments made and include them in your machine maintenance log. Regularly check roller settings to ensure they remain optimal during production.
Conclusion
Adjusting the rollers on a roll forming machine is a straightforward process, but it requires attention to detail and adherence to safety protocols. Regular adjustments and checks will help maintain machine performance and product quality.
