A Comprehensive Case Study: Transitioning to Snaplock Standing Seam Roofing

The client sought a durable and maintenance-free solution to enhance energy efficiency and withstand harsh weather conditions.

Posted on Wednesday, November 6, 2024

This case study explores a roofing contractor's journey in transitioning from traditional roofing systems to installing Snaplock standing seam roofing for a commercial building. The project involved replacing an aging metal roof with a modern, efficient, and aesthetically appealing Snaplock standing seam system. The client sought a durable and maintenance-free solution to enhance energy efficiency and withstand harsh weather conditions.

Phase 1: Initial Assessment and Planning

The project began with a comprehensive site inspection. The existing roof was over 25 years old and displayed signs of wear, including leaks, rust, and thermal inefficiencies.

Challenges Identified:

  1. Uneven roof substrate caused by prolonged wear and settling of the building structure.
  2. Need to align the installation schedule with the operational hours of the business to minimize disruptions.
  3. Requirement for a roofing system that could handle frequent snow loads without deformation.

Solutions Proposed:

  • Use of a Snaplock standing seam system for its interlocking mechanism, which ensures a watertight finish and can be installed over a leveling substrate.
  • Collaboration with the business to schedule installations during weekends and off-peak hours.
  • Selection of 24-gauge galvanized steel panels for enhanced durability and snow resistance.

Phase 2: Procurement and Preparation

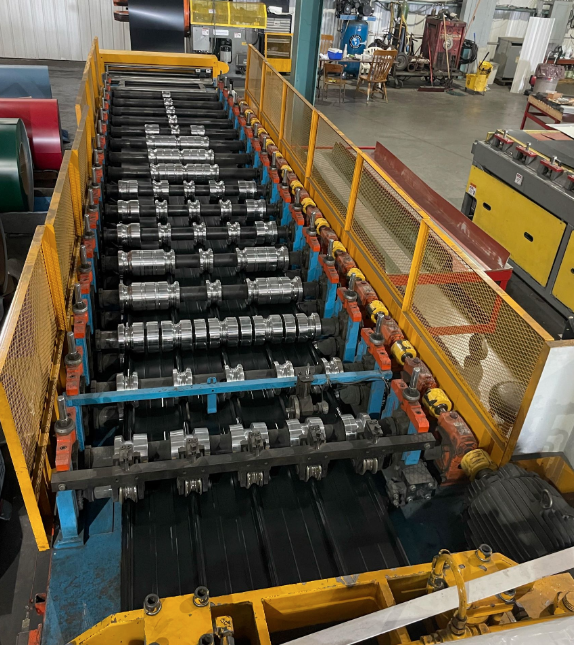
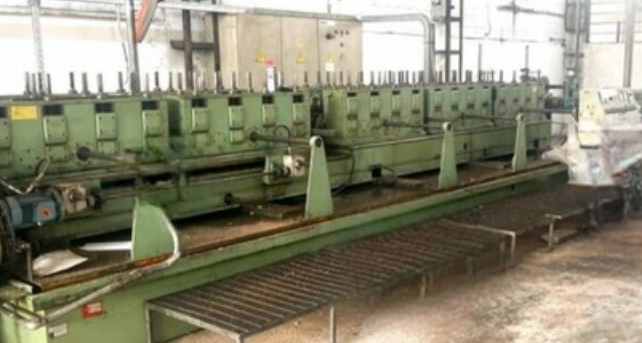
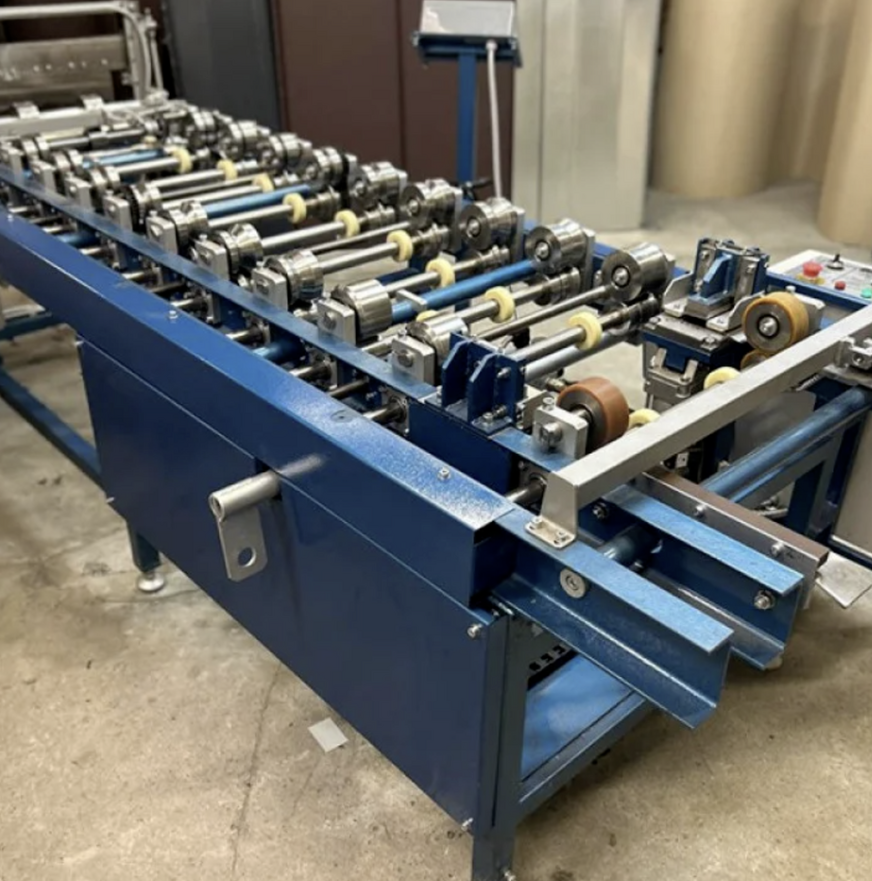
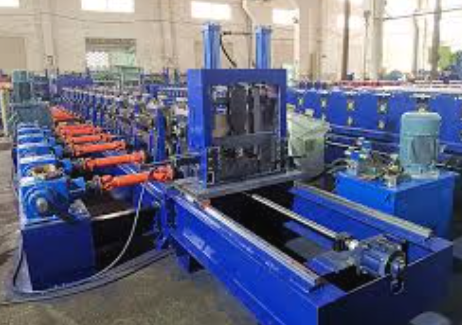
The roofing contractor utilized a Snaplock standing seam roll forming machine to manufacture panels on-site. This reduced transportation costs and allowed customization of panel lengths to minimize seams.

Steps Taken:

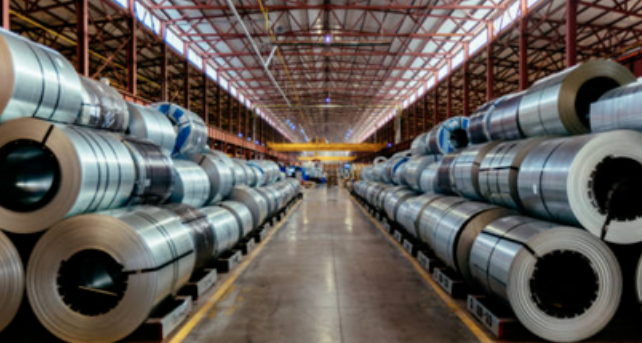
  1. Material Procurement: High-quality coils of pre-painted steel were sourced to match the building’s color scheme.
  2. Panel Fabrication: Panels were roll-formed on-site using the Snaplock machine, ensuring precision in profile dimensions.
  3. Substrate Preparation: The old roofing material was removed, and a leveling compound was applied to ensure a smooth base for installation.

Challenges:

  • Logistics of on-site panel fabrication required careful coordination to avoid delays.
  • Unexpected structural weaknesses in the roof’s underlayment were discovered.

Solutions:

  • A temporary storage area was set up for finished panels.
  • Structural weaknesses were reinforced with additional bracing before installation.

Phase 3: Installation Process

Installation began with laying down a waterproof membrane to prevent moisture intrusion. Snaplock panels were installed from the eaves to the ridge, using hidden fasteners to maintain a clean appearance.

Steps Taken:

  1. Panels were locked into place using the Snaplock system, eliminating the need for seaming tools.
  2. Ridge caps and flashing were installed to enhance water shedding.
  3. Snow guards were added to prevent snow from sliding off the roof in large sheets.

Challenges:

  • High winds during installation posed a risk to panel handling.
  • Ensuring thermal expansion was accounted for in panel alignment.

Solutions:

  • Panels were secured using additional clamps during windy conditions.
  • Expansion joints were integrated to accommodate temperature fluctuations.

Phase 4: Project Outcomes

The installation was completed within the planned two-week timeframe. Post-installation inspections confirmed the roof met performance and aesthetic goals.

Key Results:

  • Durability: The Snaplock standing seam roof provided a leak-free and robust solution against weather extremes.
  • Energy Efficiency: The reflective coating on the panels reduced cooling costs by 15%.
  • Aesthetic Appeal: The sleek design enhanced the building’s curb appeal, attracting more clients to the business.
  • Client Satisfaction: The client expressed high satisfaction with the project’s timely execution and quality results.

Lessons Learned

  1. Pre-emptive Reinforcement: Conducting a deeper structural analysis early in the project could have reduced delays caused by unforeseen underlayment issues.
  2. Weather Preparedness: Having a contingency plan for adverse weather conditions ensured the project stayed on schedule.
  3. On-Site Fabrication: Roll-forming panels on-site proved cost-effective and streamlined customization, highlighting the importance of investing in a reliable roll-forming machine.

Conclusion

This case study demonstrates the benefits of transitioning to a Snaplock standing seam roofing system. The project not only addressed existing issues but also delivered long-term value through enhanced durability, energy efficiency, and aesthetics. By overcoming challenges with strategic solutions, the roofing contractor showcased the capabilities of Snaplock systems in delivering high-performance results.
Setting Up the PLC Control Panel on a Roll Forming Machine: A Step-by-Step Guide

Setting Up the PLC Control Panel on a Roll Forming Machine: A Step-by-Step Guide

Posted on Monday, May 26, 2025

We’ll walk you through the setting up a PLC control panel for your roll forming machine — including wiring, configuration, and best practices.

Electrical Setup for Roll Forming Machines: A Global Installation Guide

Electrical Setup for Roll Forming Machines: A Global Installation Guide

Posted on Monday, May 26, 2025

This guide provides a comprehensive checklist to assist you in preparing your factory's electrical infrastructure for your new roll forming machine.

Metal Flashing

Metal Flashing

Posted on Friday, May 23, 2025

The Complete Guide to Metal Flashing: Types, Materials, Sizes, and Top Manufacturers

Steel Coil Slitting

Steel Coil Slitting

Posted on Friday, May 23, 2025

The Complete Guide to Steel Coil Slitting: Materials, Profiles, Sizes, and Leading Global Manufacturers