How to swap shears on a roll forming machine

Follow these steps for a safe and efficient process:

Posted on Sunday, January 26, 2025

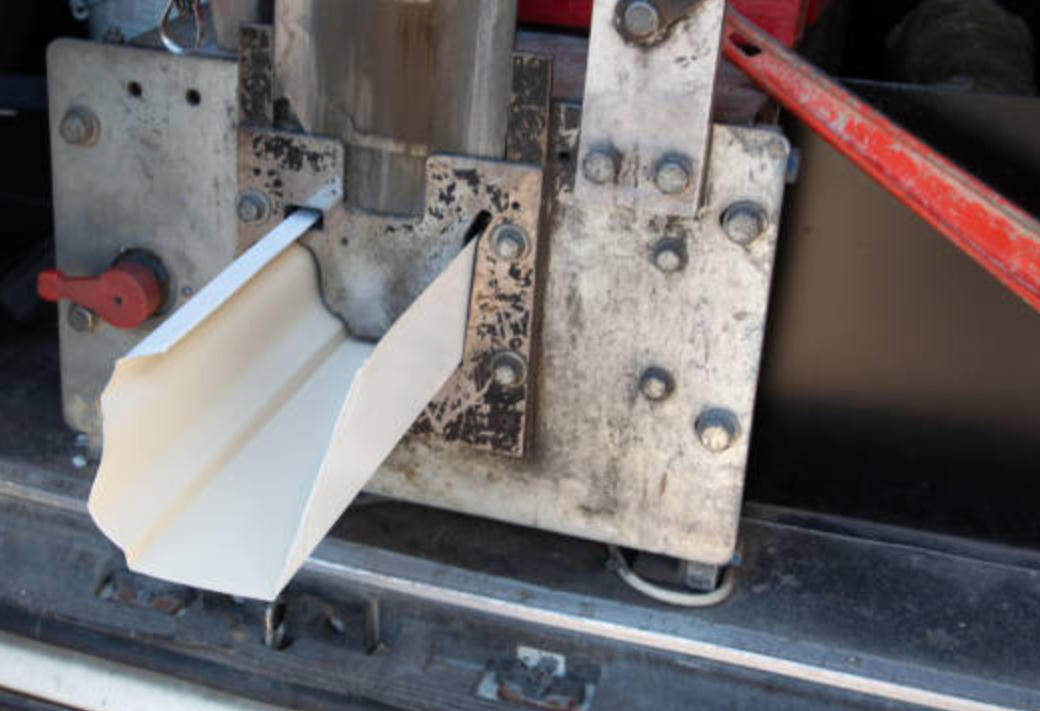
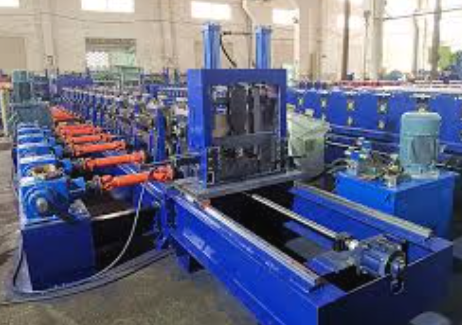
Swapping shears on a roll forming machine is a critical maintenance procedure that ensures clean and accurate cutting of profiles.
1. Prepare the Work Area

  • Ensure Safety: Power off the machine and disconnect it from its power source to prevent accidental activation.
  • Wear Safety Gear: Use gloves, safety glasses, and steel-toe boots for protection.
  • Organize Tools: Gather the necessary tools, such as wrenches, screwdrivers, and any manufacturer-specified equipment.

2. Review the Machine Manual

  • Refer to the manufacturer’s manual for detailed instructions, as different machines may have unique shear configurations.
  • Note specific bolt patterns, torque requirements, or other important details.

3. Secure the Machine

  • Lock the roll forming machine in place to avoid any unintended movement.
  • Use safety blocks or mechanical stops to secure the tooling and rollers.

4. Remove the Existing Shear

  • Loosen Bolts: Unscrew and remove the bolts or clamps securing the shear. Be cautious, as some shears can be heavy.
  • Detach Connections: Disconnect any hydraulic or pneumatic lines if the shear is powered by these systems.
  • Slide Out the Shear: Carefully remove the shear from its mount. Use lifting equipment if necessary to avoid injury.

5. Inspect and Clean

  • Check the Mounting Area: Inspect for wear, debris, or damage.
  • Clean the Area: Use a dry cloth or compressed air to remove dust and debris.
  • Examine the New Shear: Ensure the replacement shear is free from defects and matches the machine’s specifications.

6. Install the New Shear

  • Align the Shear: Position the shear in place, ensuring proper alignment with the profile path.
  • Secure the Shear: Tighten bolts or clamps according to the manufacturer’s torque specifications.
  • Reconnect Lines: Reattach any hydraulic or pneumatic connections, checking for leaks or improper fittings.

7. Test the Installation

  • Power Up the Machine: Reconnect the machine to its power source.
  • Run a Test: Operate the machine at a low speed to test the shear. Verify that the cuts are clean and accurate.
  • Inspect for Issues: Look for misalignment, unusual vibrations, or leaks.

8. Finalize and Document

  • Tighten All Bolts: Re-check all fastenings for tightness.
  • Clean the Area: Remove tools and debris.
  • Record Maintenance: Log the shear replacement in the machine’s maintenance records.

Tips for Success

  • Always use shears recommended by the machine’s manufacturer to avoid compatibility issues.
  • Regularly inspect and maintain shears to prevent downtime.
  • Train operators on proper handling and replacement procedures to ensure safety.
Setting Up the PLC Control Panel on a Roll Forming Machine: A Step-by-Step Guide

Setting Up the PLC Control Panel on a Roll Forming Machine: A Step-by-Step Guide

Posted on Monday, May 26, 2025

We’ll walk you through the setting up a PLC control panel for your roll forming machine — including wiring, configuration, and best practices.

Electrical Setup for Roll Forming Machines: A Global Installation Guide

Electrical Setup for Roll Forming Machines: A Global Installation Guide

Posted on Monday, May 26, 2025

This guide provides a comprehensive checklist to assist you in preparing your factory's electrical infrastructure for your new roll forming machine.

Metal Flashing

Metal Flashing

Posted on Friday, May 23, 2025

The Complete Guide to Metal Flashing: Types, Materials, Sizes, and Top Manufacturers

Steel Coil Slitting

Steel Coil Slitting

Posted on Friday, May 23, 2025

The Complete Guide to Steel Coil Slitting: Materials, Profiles, Sizes, and Leading Global Manufacturers